Laser Marking Software - Prolase 7- Beta Version Evaluation - Post 2
This is the 2nd in an ongoing series of evaluation posts talking about the new release of Prolase 7...
This is is the 1st in an ongoing series of evaluation posts talking about the new release of Prolase 7 from American Laserware.
Jimani is fortunate enough to be considered as a beta test site for testing and evaluation of the beta version of Prolase 7 from American Laserware. Prolase 7 was designed to run on a Microsoft Windows 7 platform while still maintaining functionality and compatibility with Windows XP. Many users, such as Jimani, currently run one or more marking systems with Prolase XP on a Windows XP Pro platform.
Keith, the founder of American Laserware, called me one morning and told me that the beta version of V 7 was ready to download. I had already been provided with a Prolase dongle that was enabled for both Prolase XP and Prolase V 7. Keith was interested in participating in a “clean” installation of Prolase 7 by someone other than an American Laserware engineer. My plan was to download Prolase 7 onto my desktop computer with a Windows XP Pro operating system , test it for basic functionality and then load it onto a real marker.
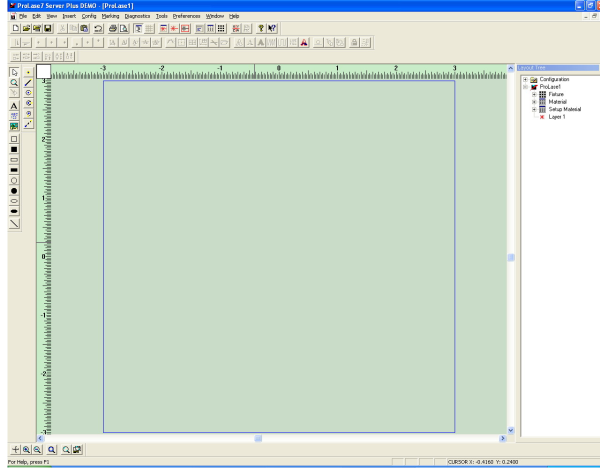
After downloading V 7 from the American Laserware website, Keith and I went through the installation step by step. The installation is designed so that Prolase 7 can be loaded onto a computer that already had a previous version of Prolase (my desktop had the demo version of Prolase XP) without disabling the functionality of either Prolase installation. The installation was very smooth with the exception of a couple of warning messages related to either DLLs or Prolase drivers. Keith seemed to understand the root cause of the warning messages and noted changes or fixes that needed to be made to the software. After the installation was completed, in spite of the warning messages, Prolase 7 opened on my desktop and I was presented with a familiar looking, although slightly altered, Prolase screen.
An experienced Prolase user would immediately notice that the background color is different and that there are a few additions to the main menu bar at the top of the screen.
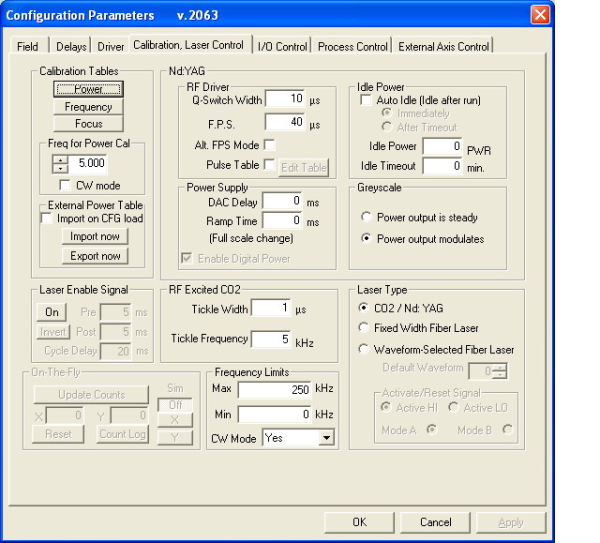
Access to Prolase configuration functions is achieved by selecting the new “Config” tab and the access to “I/O Monitor”, “Data Monitor”, “Applet Monitor”, “Axis Control Monitor”, “Center Galvos” and “Galvo Tracking Mode” is from the new “Diagnostics” tab. All of the functions now accessed through “Config” and “Diagnostics” were previously accessed via the “Marking” tab.
There is a new tool on the “Standard Toolbar”. That tool is shaped like a black laser splash with a red square around it and it is the “Preview” tool. Missing in Prolase XP, the “Preview Tool” is designed to draw a bounding box around all of the objects in a layer. If the box is drawn at high speed with a visible diode or HeNe laser turned on, the user can see the extents of marking objects on the part to be marked.

Other than the changes described above, the Prolase 7 screen looks just like the Prolase XP screen and I felt right at home with it. Keith briefly walked me through the various screens. He explained in detail the new “Rich Text” (RTF) feature for Fixed Text objects. At that point I was left on my own to start playing with V 7.