Ablation vs. Engraving vs. Stain Marking
Ask three shops to "engrave" a part and you may get three different processes. Fiber lasers mark...
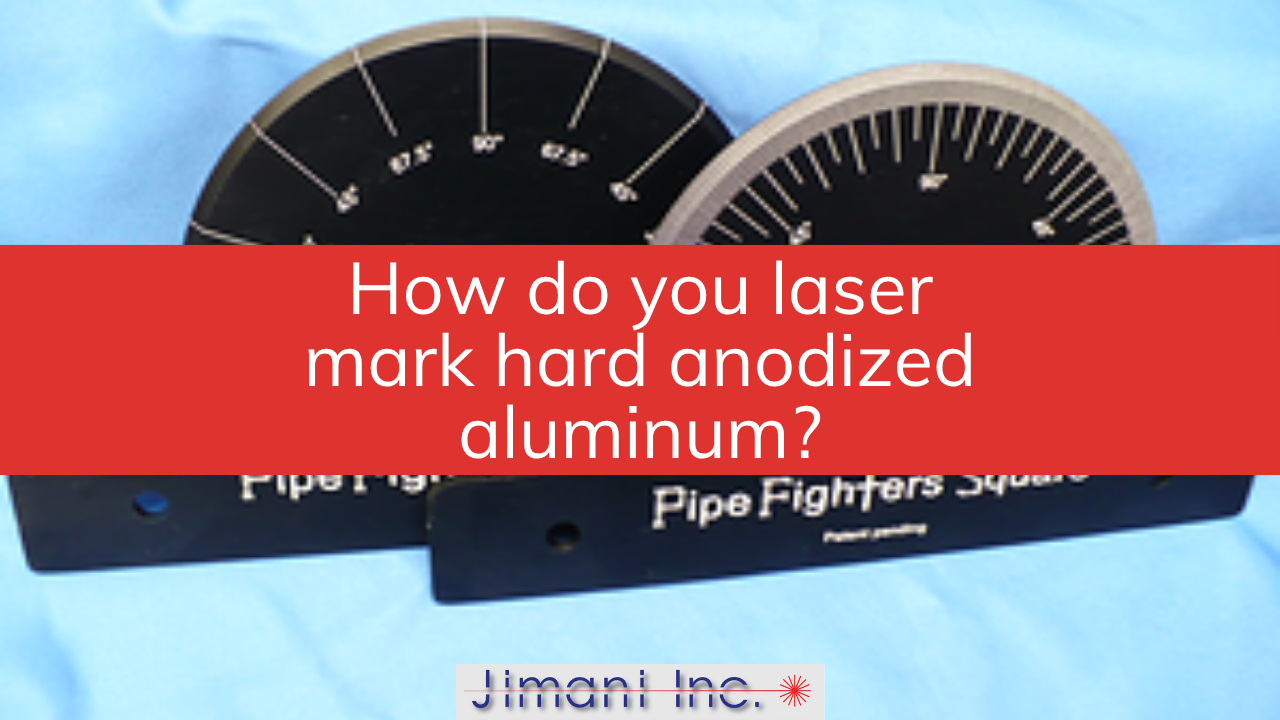
You've got a run of hard anodized parts on the dock and a customer who wants serial numbers on every one of them. The settings that worked fine on your Type II anodized parts barely scratch these. That's not a machine problem — it's a material problem.
Hard anodized aluminum can be laser marked with a fiber laser, but the coating demands a different approach: higher laser power (an 80 watt laser is the comfortable choice), fill spacing opened up to .001 inch, and multiple passes at relatively high speed instead of one slow burn. You should also adjust your expectations on contrast, because hard anodize rarely yields the bright white mark that Type II anodize does.
This article covers why hard anodize behaves differently under the laser, what power level you need, the settings that work, and what the finished mark will look like.
Hard anodize (Type III) coatings are many times thicker than the Type II anodize found on most commercial parts — MIL-A-8625, the governing military specification, calls for a nominal thickness of 0.002 inch on Type III coatings, compared to a few ten-thousandths of an inch for Type II. The coating also penetrates into the aluminum substrate as much as it builds up on the surface, producing a dense, ceramic-like layer that takes far more laser energy to vaporize.
That structure is exactly why engineers specify hard anodize in the first place. It's a wear surface — built for firearms components, hydraulic cylinders, aerospace hardware, and anything else that has to survive abrasion and corrosion for years. The same properties that make it durable in service make it stubborn under a laser beam.
Laser marking any anodized aluminum works by ablation: the laser vaporizes the coating away, exposing and texturing the base metal so it scatters light and reads as a lighter mark. With Type II anodize, that's quick work. With hard anodize, the laser has several times more coating to remove, and that coating is harder than the metal underneath it.
At Jimani, hard anodized parts come through our job shop regularly, and they get treated as their own application — not as aluminum with a slightly tougher skin.
An 80 watt fiber laser is the preferred tool for marking hard anodized aluminum. A 30 watt fiber laser can do the job, but it requires more passes and slower marking speeds, which stretches cycle time on every part.
The math here is practical, not theoretical. Removing a coating several times thicker than Type II anodize means delivering several times the energy into the mark. You can deliver that energy with more watts or with more time — those are the only two levers. For a handful of parts, a 30 watt system and patience will get you there. For production quantities, the throughput difference between 30 and 80 watts shows up directly in your cost per part.
In our job shop experience, we reach for our 80 watt lasers whenever hard anodize comes in the door. The extra power keeps pass counts reasonable and cycle times predictable, which matters when a customer sends a thousand parts instead of ten.
The approach that works at Jimani: open the fill spacing in the marking object to .001 inch, then run multiple passes at a relatively high marking speed — around 25 inches per second — using relatively high laser power, around 40 watts. Finish with a cleanup pass at reduced power to improve the appearance of the marked area.
This is the same damage-and-cleanup technique used on standard anodized aluminum, adapted for a thicker coating. On Type II anodize, a typical damage pass runs 12–15 watts at 25–40 inches per second, and a single pass usually breaks through the coating. Hard anodize won't yield to that. Instead of slowing the laser down and trying to muscle through in one pass, you keep the speed up and let repeated passes remove the coating in layers.
Why not one slow, high-power pass? Because dwelling in one spot tends to melt and re-deposit material rather than cleanly vaporize it. Multiple faster passes remove thin slices of coating on each cycle and leave a cleaner mark — the same principle that governs deep engraving into bare metal.
These numbers are a starting point, not a recipe. Alloy, coating thickness, and dye color all shift the sweet spot, which is why we run test parts before quoting any hard anodize job.
Usually not. On hard anodized parts, the cleanup pass rarely produces the same bright white final appearance you get on Type II anodized surfaces. Expect a lighter contrasting mark against the coating — clearly readable, but more muted than the stark white-on-black mark that dark-dyed Type II anodize delivers.
The contrast you end up with depends heavily on the coating itself. Dark hard anodize gives the mark something to stand out against. Lighter or natural-colored hard coat offers less contrast to begin with, so the finished mark reads as subtle rather than stark. The exposed aluminum will form a natural oxide layer after marking, which gives the marked area some protection in service.
If your application demands a specific contrast level — a scannable Data Matrix code, or a UID mark that has to verify — the honest answer is that you won't know until you shoot a real part. Coating thickness and dye vary from one anodize house to the next, and two visually identical parts can mark differently.
That's exactly the kind of question we settle in the Jimani job shop before anyone commits to equipment or a process. Send us a sample part, and we'll mark it with the settings we'd run in production — you'll see the real result on your real coating, not a photo of somebody else's part.